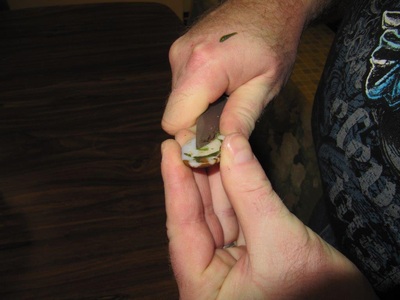
STEPS IN CUTTING & POLISHING A CABACHON.
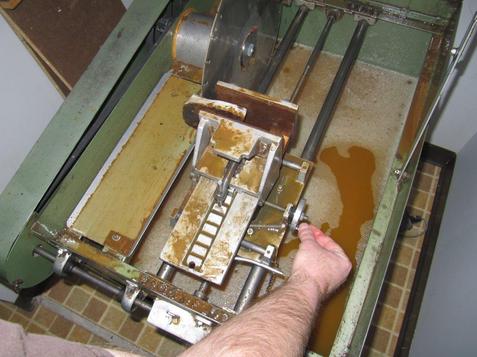
Cut a slice of Agate, Obsidian, or Jasper, on a diamond blade rock saw. This is the 18 inch saw.
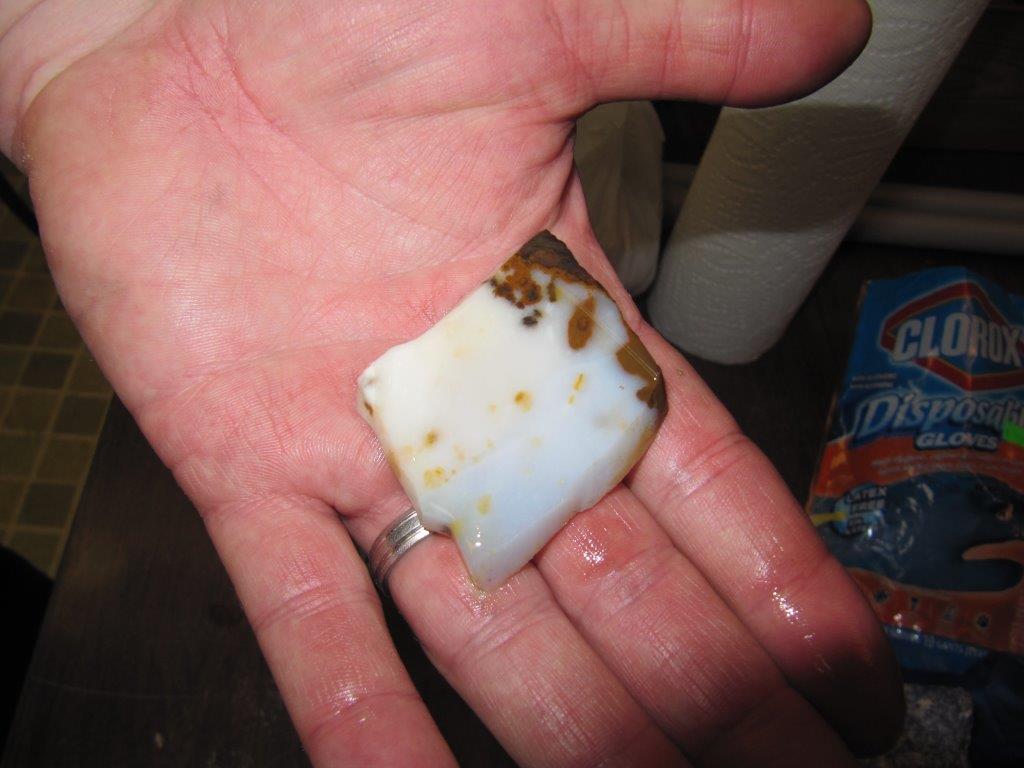
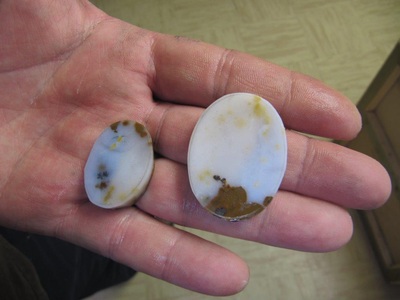
This is the agate slab ready to be worked on.
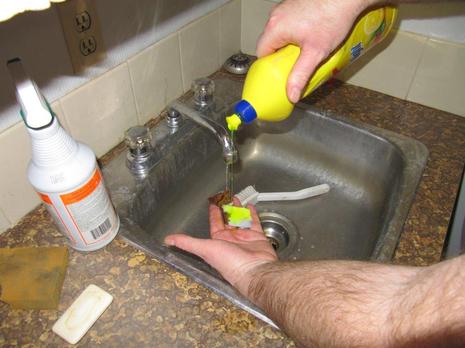
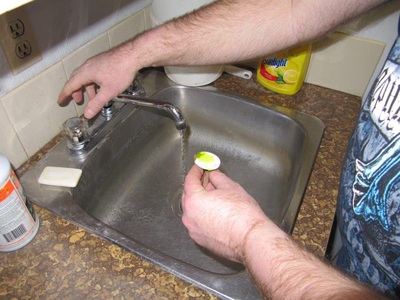
It is extremely important to always wash your rock after completion of each step in the process to remove any leftover grit that would contaminate the next step by leaving scratches.
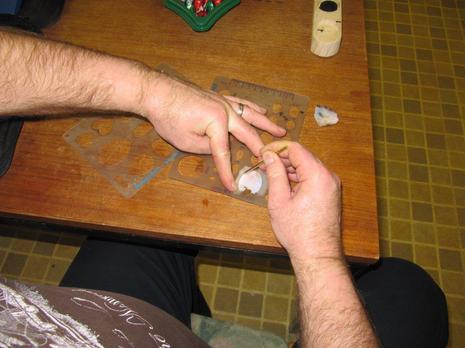
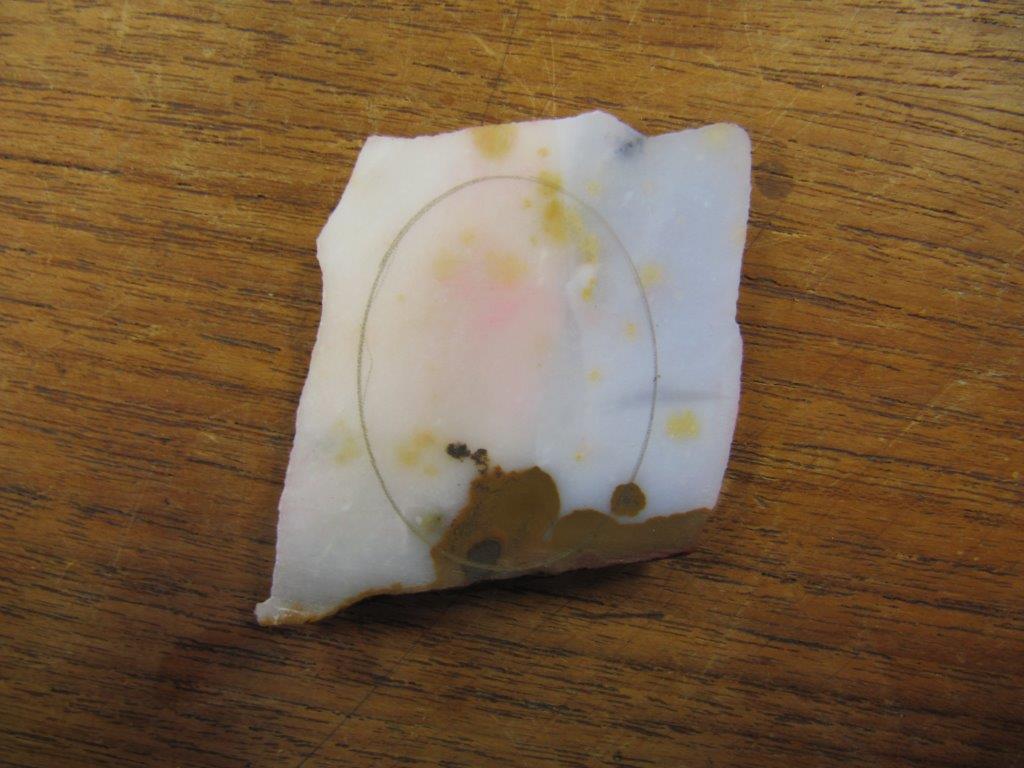
Decide on a shape you want to make. Choose the appropriate template and size. Mark your shape onto your specimen using a brass or aluminum "pencil".
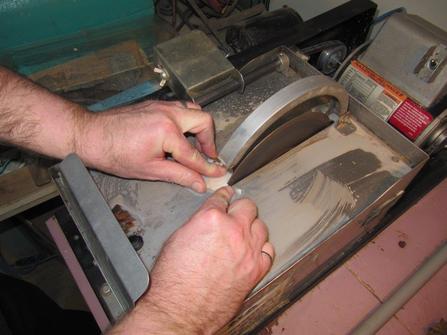
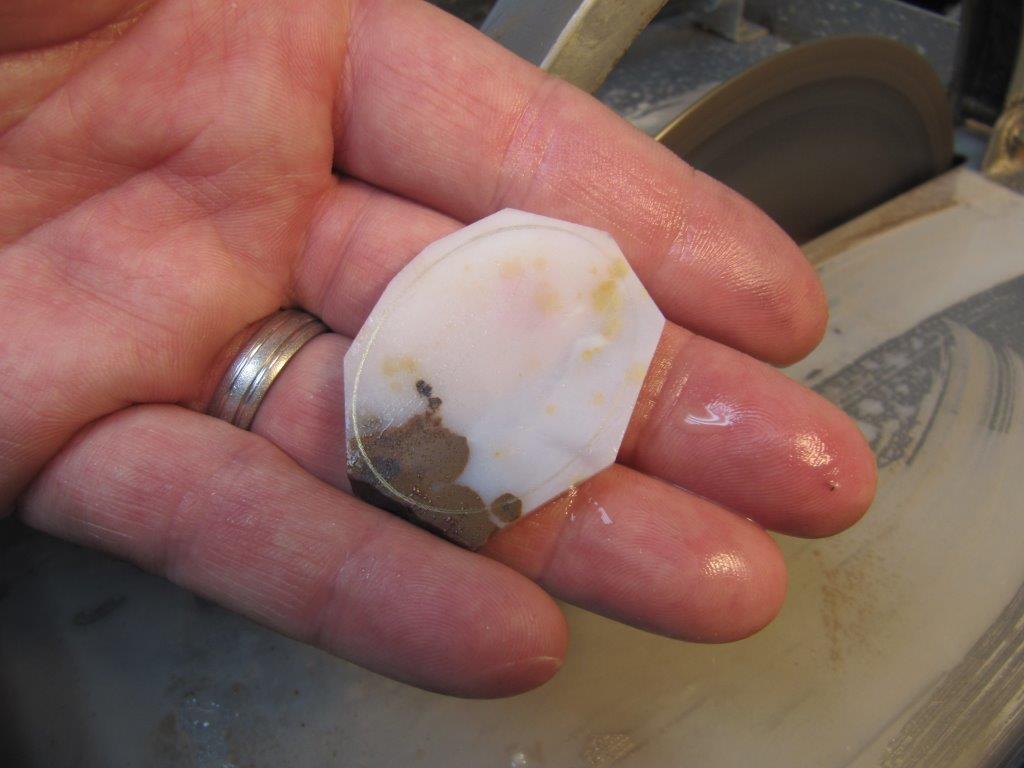
Trim your specimen on a trim saw by cutting all around the slab with straight cuts to remove the excess material. Observe the next picture for the resulting pattern.
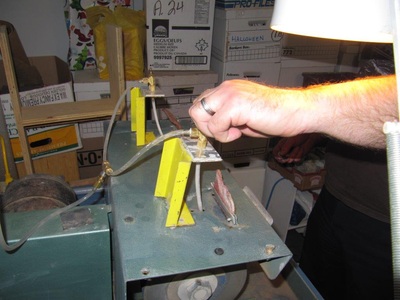
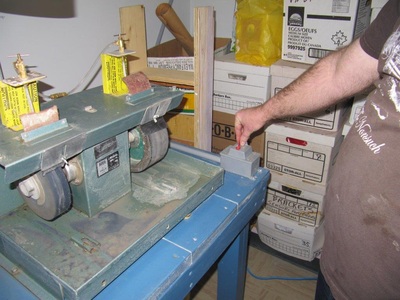
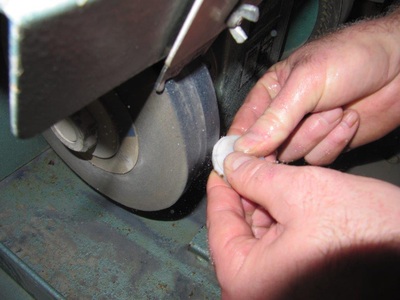
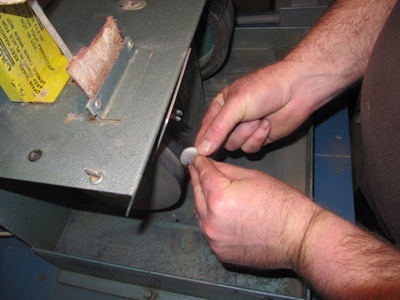
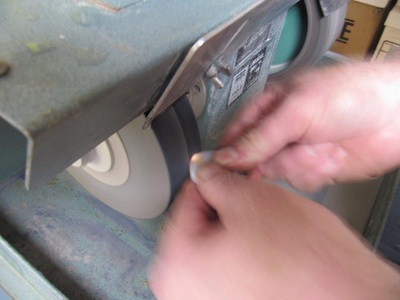
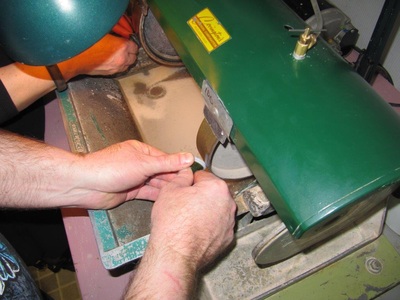
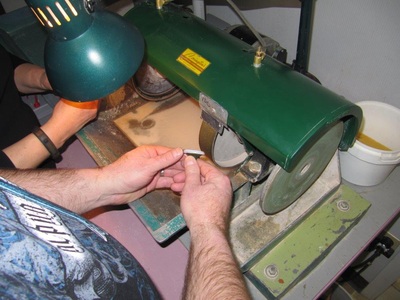
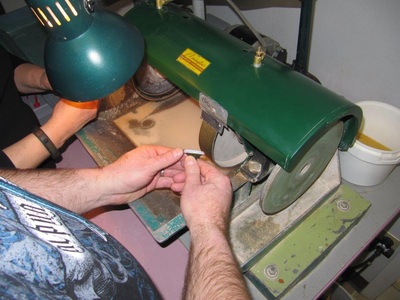
Now take your Cab to a 100 grit Diamond or Silicon Carbide Wheel and grind your specimen close to the scribe line. You must always turn on the water for the wheel to keep your rock from overheating. Click on the following pictures for larger image. Be sure to thoroughly wash your cab when completed and before moving on to next step.
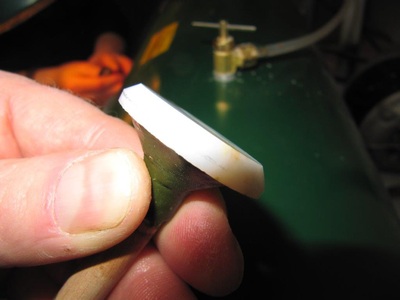
Note: Hard rocks like Agate you will be able to see your rock glow when grinding. This is the
Note: Hard rocks like Agate you will be able to see your rock glow when grinding. This is the
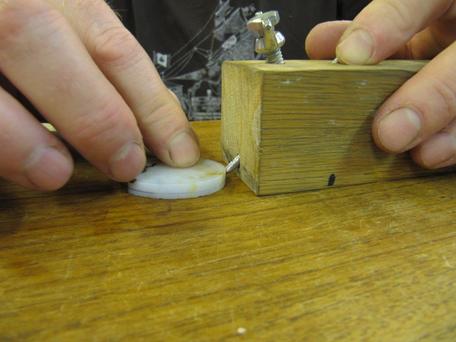
Using brass or aluminum scribe a line around the girdle of the cab approximately 1/3 of the height of the material from the bottom end after choosing which face to cab.
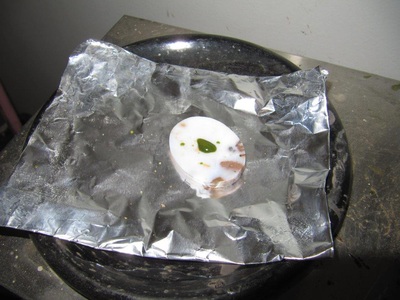
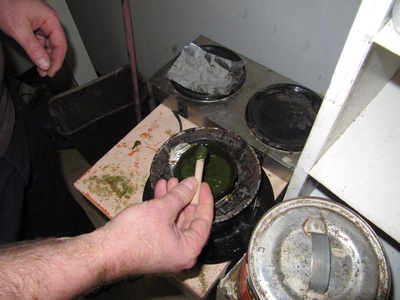
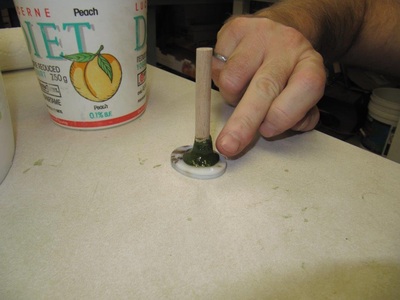
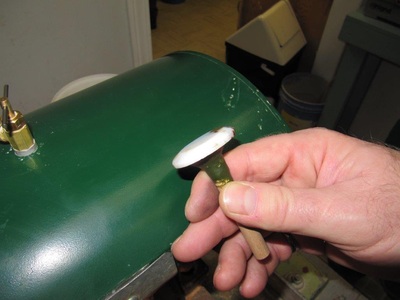
Dop (Glue) your cab onto a stick using HOT wax. First heat your cab up on the hot plate, place a small piece of wax on the cab, when it starts to melt, you are ready to glue your stick to the cab. Wet your finger and form the wax around the dop stick and your cab. Allow the wax to cool and harden.
Observe the process in the next pictures.
Observe the process in the next pictures.
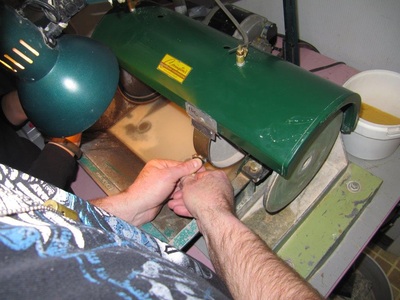
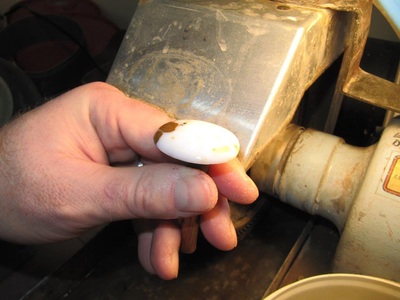
Turn the water on the 100 or 220 grit diamond wheel, this depends on the material being cabbed and remember to use the full face of the wheel moving the cab from side to side as you grind away.
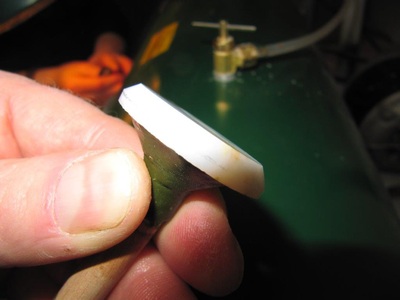
Begin the first cut approximately 45 degrees to the girdle line and top of the cab. Grind almost to the scribed line around the girdle of the cab.
Grind second angle approximately 20 degrees to the last cut and the top of the cab.
Continue on grinding diminishing angles until you are almost at 90 degrees to the wheel with the cab.
The final grind is to take off the last flat on the cab.
Wash cab thoroughly with soap and water before continuing on.
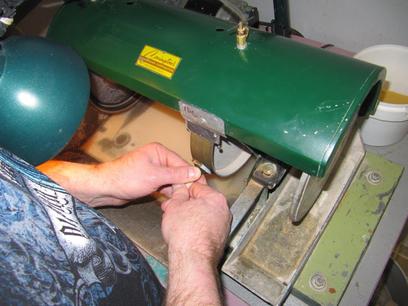
If you had used the 100 grit wheel on the previous step, then move over to the 220 grit diamond wheel, turn the water on and with a sweeping motion move the cab around the wheel smoothing out all of the flats.
Thoroughly wash your cab again before moving on.
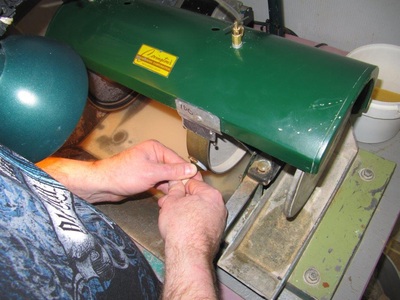
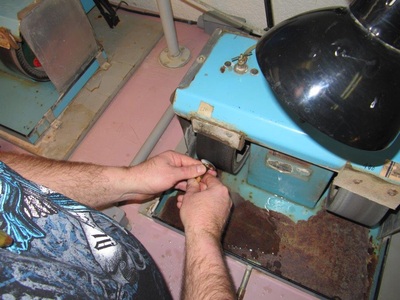
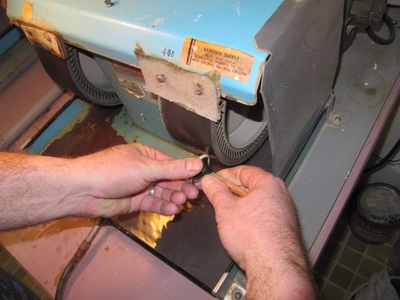
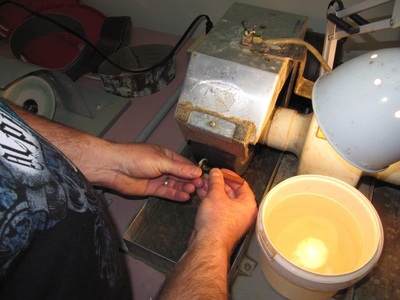
Go to the 220 grit expanding drum, turn the water on and with a sweeping motion move the cab around smoothing out all of the flats. The expanding drum on the wheel helps to round off all of the edges and provide a smooth surface.
Once you are satisfied that all of the marks and flats from the course wheel are removed, thoroughly wash your cab and proceed to the 400 grit expanding drum.
Once you are satisfied that all of the marks and flats from the course wheel are removed, thoroughly wash your cab and proceed to the 400 grit expanding drum.
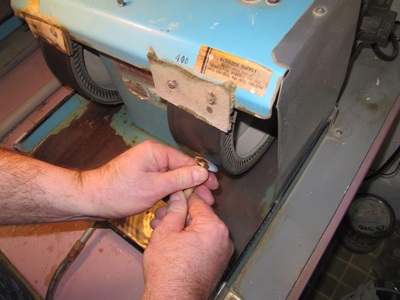
Proceeding to the 400 grit expanding wheel, turn water on and repeat previous process until you are satisfied that all of the marks from the 220 grit wheel are removed.
Also under cut slightly the bottom edge of the cab that is on the dop stick. This helps when mounting the cab in a setting.
Thoroughly wash the cab again and then proceed to the 600 grit expanding drum.
Also under cut slightly the bottom edge of the cab that is on the dop stick. This helps when mounting the cab in a setting.
Thoroughly wash the cab again and then proceed to the 600 grit expanding drum.
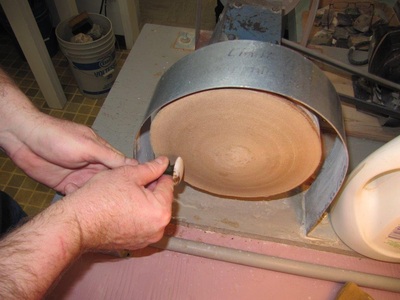
Turn the water on for the 600 grit expanding drum and repeat the previous process until you are satisfied that all the marks from the 400 grit expanding drum are removed.
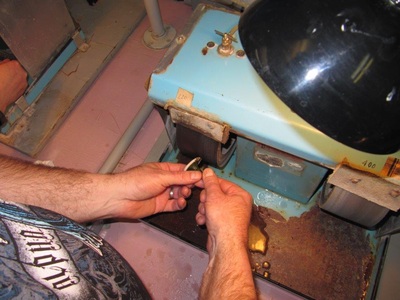
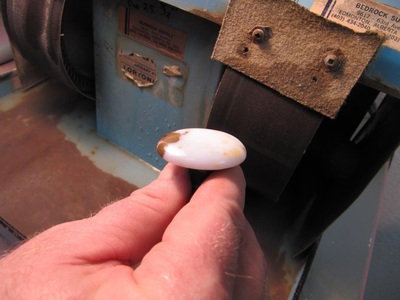
Thoroughly wash your cab and go to the dry expanding drum. Repeat the previous process and remember that this is a dry wheel, do not use water! The cab will get very hot. A shine will start to develop on the cab.
Here you will notice if you still have a "flat" on the cab and any scratches from previous wheels and belts. If so, repeat the process if needed from the 220 grit diamond and carry on through to the dry wheel. Repeat this process as necessary until you are satisfied with the results.
Thoroughly wash your cab and go to the buffing wheels.
There are 3 types of buffing wheels using different compounds. Linde "A", Cerium Oxide, and Zam.
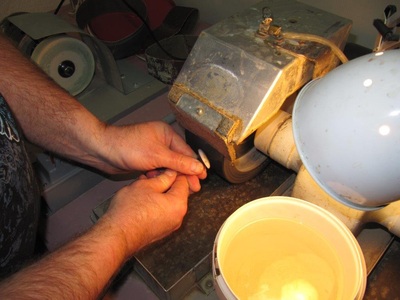
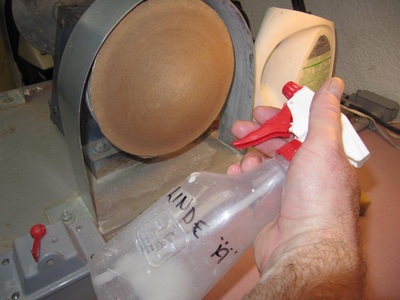
Ask which is best for the material you are cabbing. The flat vertical laps use water mixed with a polishing compound and require spraying the wheel with the compound as the wheel spins. It is important NOT to cross contaminate the laps with the spray compounds and to clean your cab thoroughly when moving from one lap to another. The round felt wheel uses "Zam" a green wax polish. Sometimes you have to start on one buff and then move to the next to achieve the desired results.
For Example: You start on the Linde "A" and then move to the Cerium Oxide buff to get a high gloss finish on the cab.
Spray the lap with the polishing compound and holding the dop stick with both hands firmly bring the cab to the spinning wheel and with a flowing sweeping motion move the cab around the lap until you are satisfied with the results. Keep spraying the lap with compound when the cab begins to "stick" to the lap due to dryness. Be careful not to heat the cab too much on the polishing wheels as the wax can melt and the cab can be flung off at a high speed
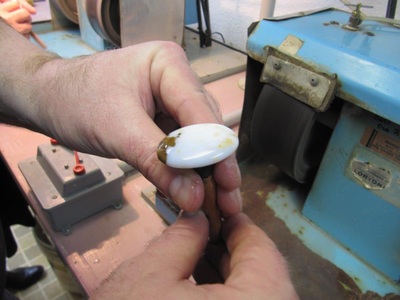
Do a final check for flats and scratches and if none, then the cab is ready for placing in a setting.
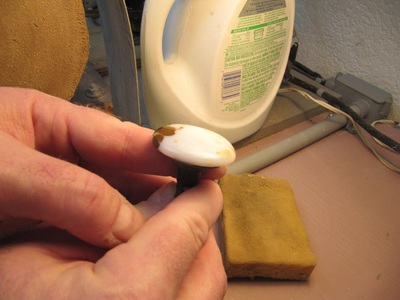
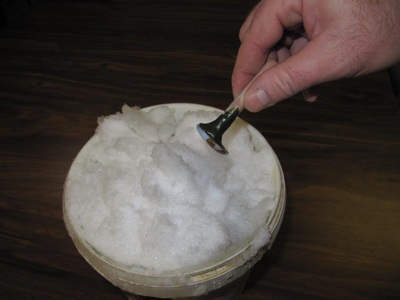
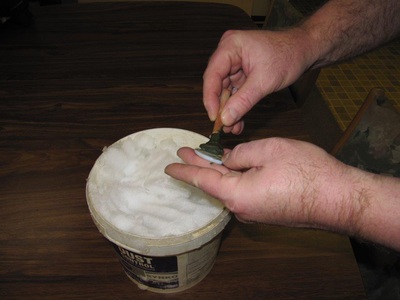
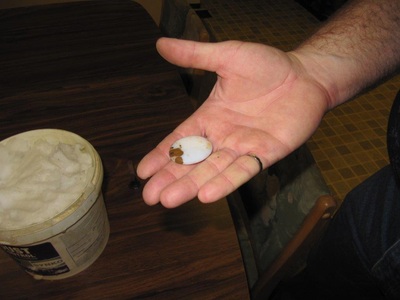
To remove your cab from the dop stick place it in the freezer for 5 minutes and the cab will pop off of the dop stick. In the winter time a bucket of snow is just as good.
Clean the remaining wax from the back of the cab with a knife.
BE CAREFUL NOT TO DROP YOUR CAB!!
And there you go, a finished cabochon after about 2 hours of work.
Clean the remaining wax from the back of the cab with a knife.
BE CAREFUL NOT TO DROP YOUR CAB!!
And there you go, a finished cabochon after about 2 hours of work.
