How to make Chainmaille - Byzantine Chain Links
Tools and Material required to get started on your Chainmaille project:
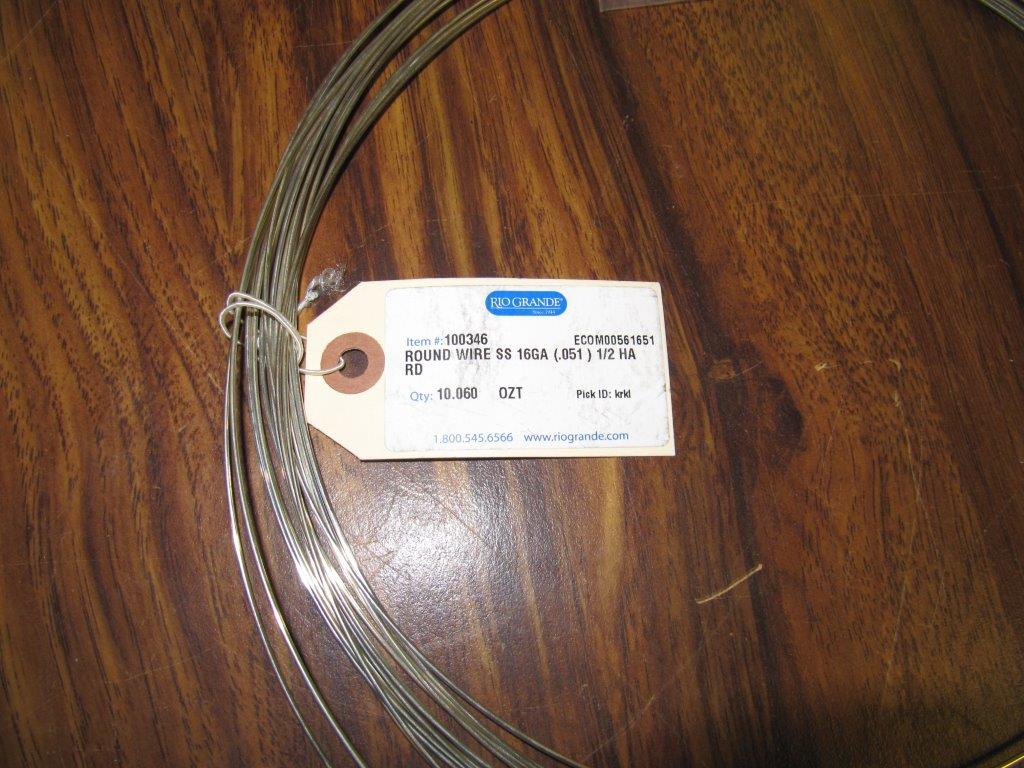
- 16 Gauge Half Hard Silver wire
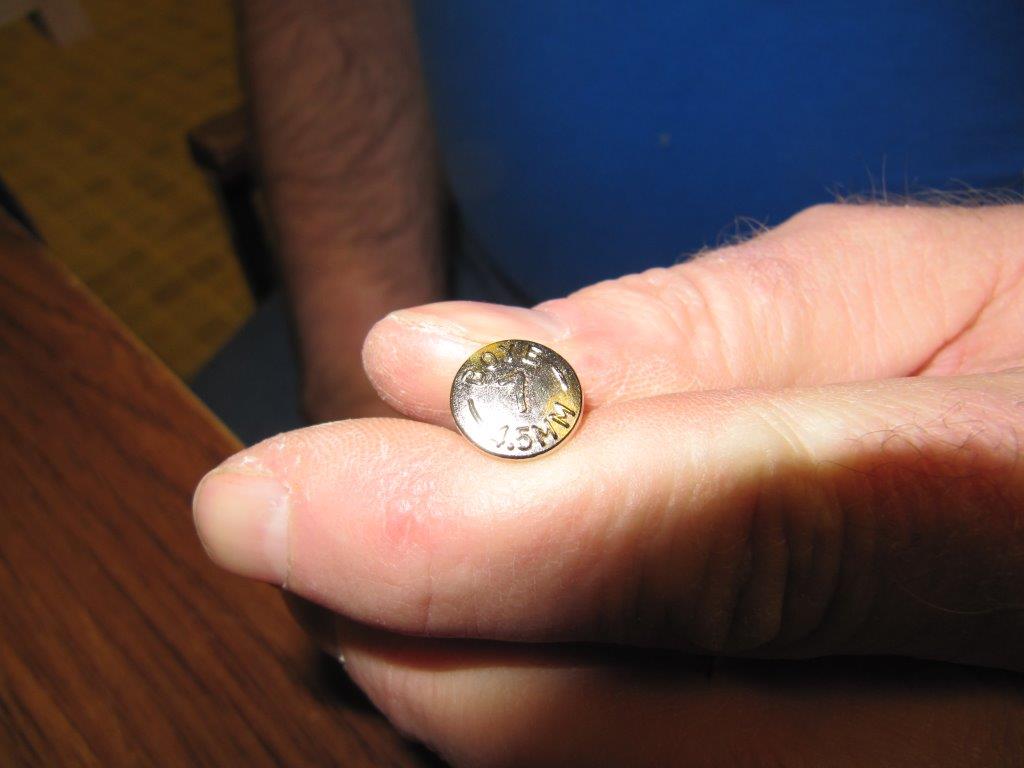
- 4.5 mm Knitting Needle (preferable metal as plastic and wood will distort and result in different size rings)
- Side Cutters
- 2 pair of Needle Nose Pliers
- Jeweler's Wire Saw
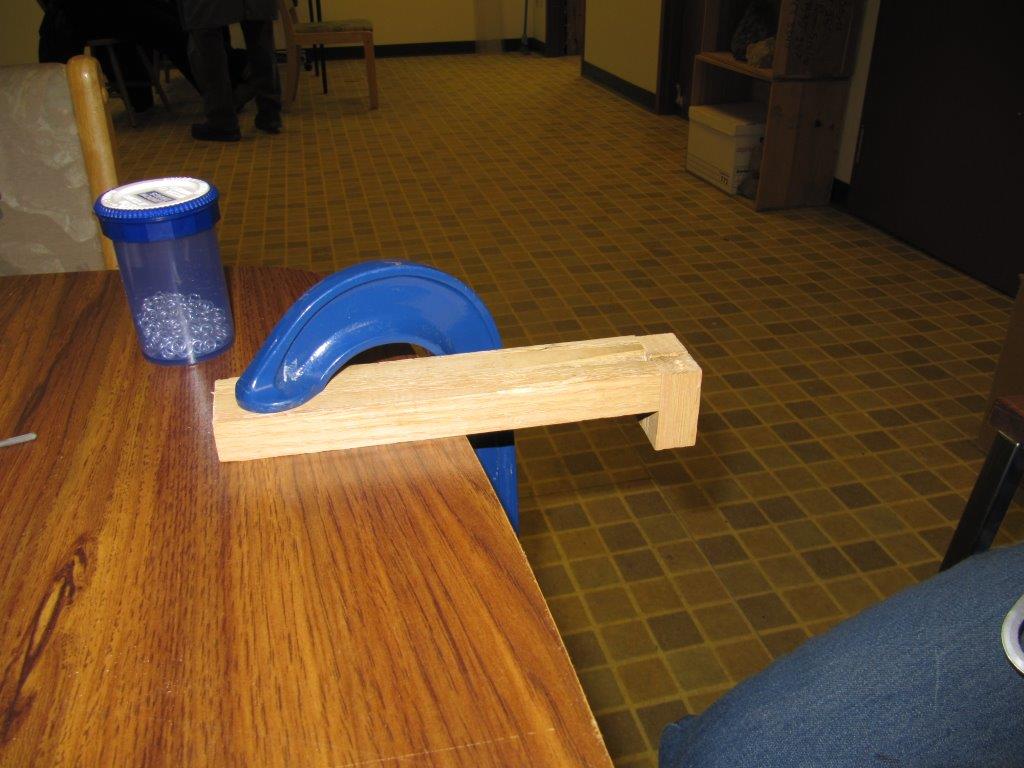
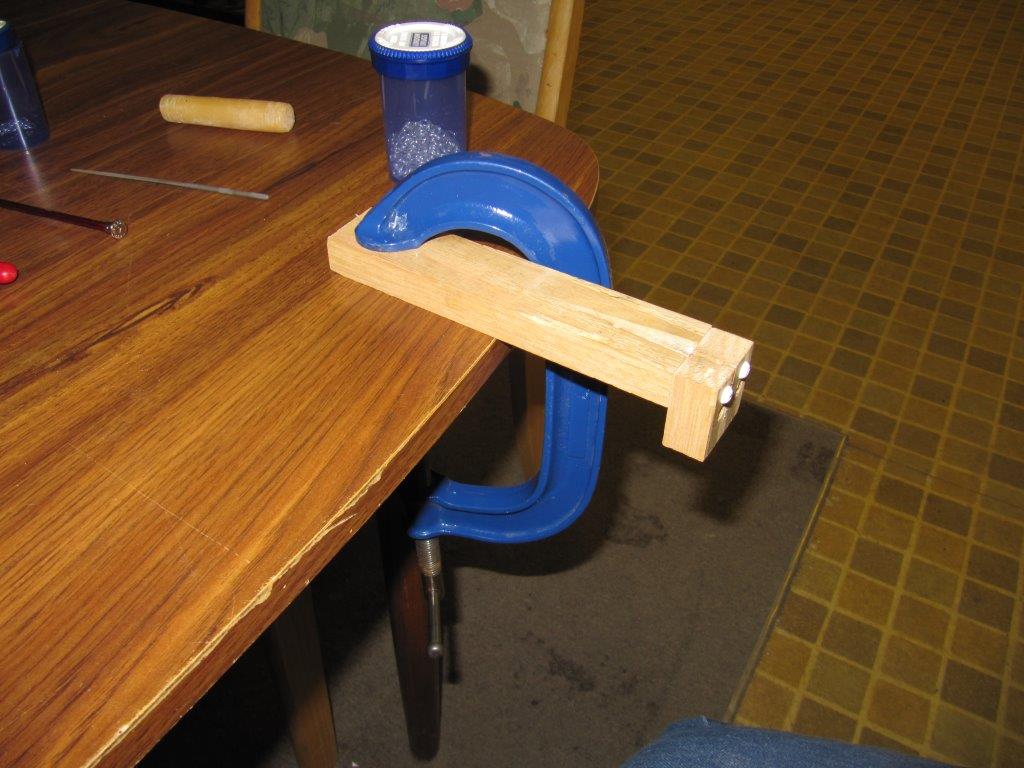
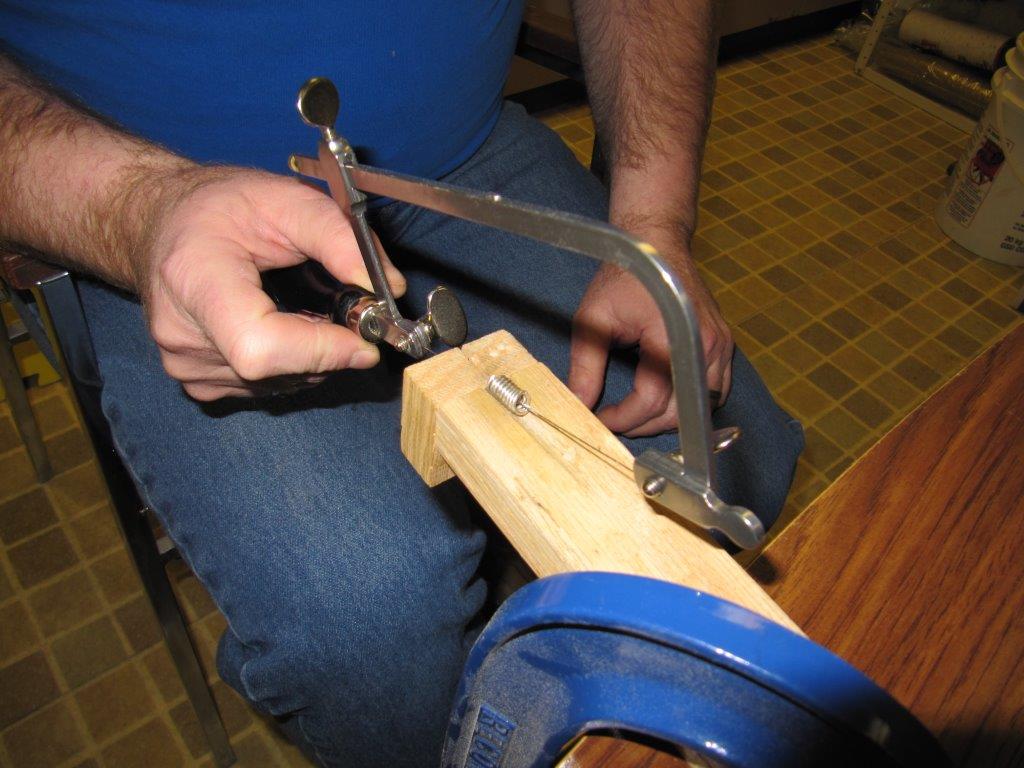
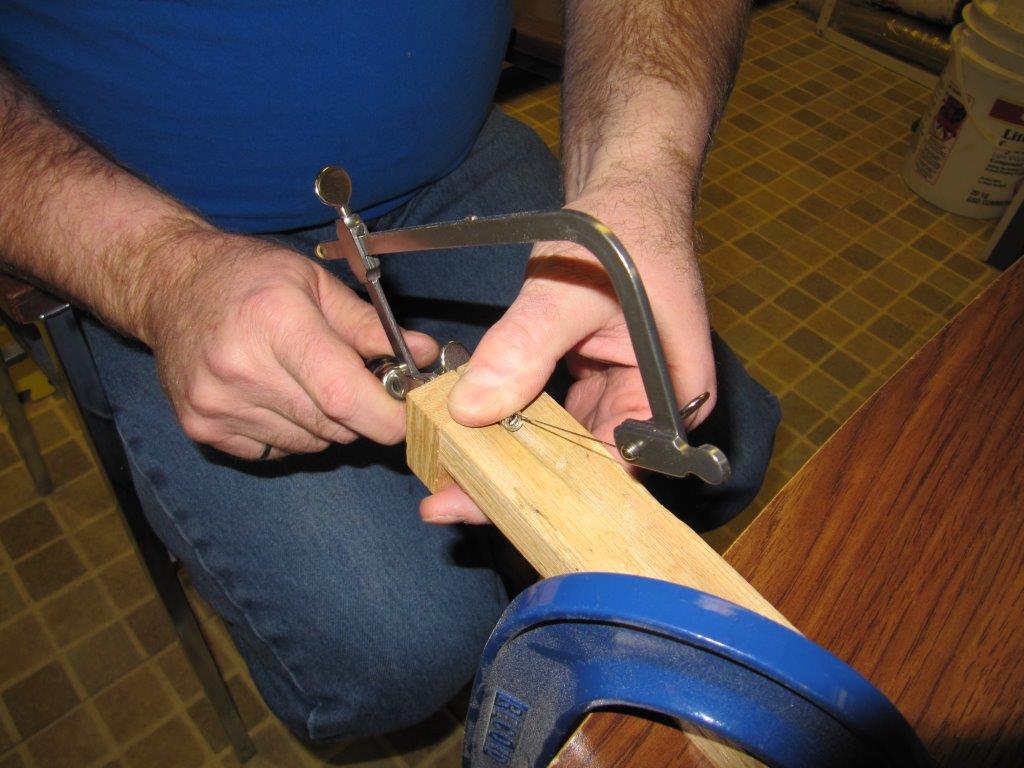
- Bench Pin
- Flat File
First Step: Making your own jump rings
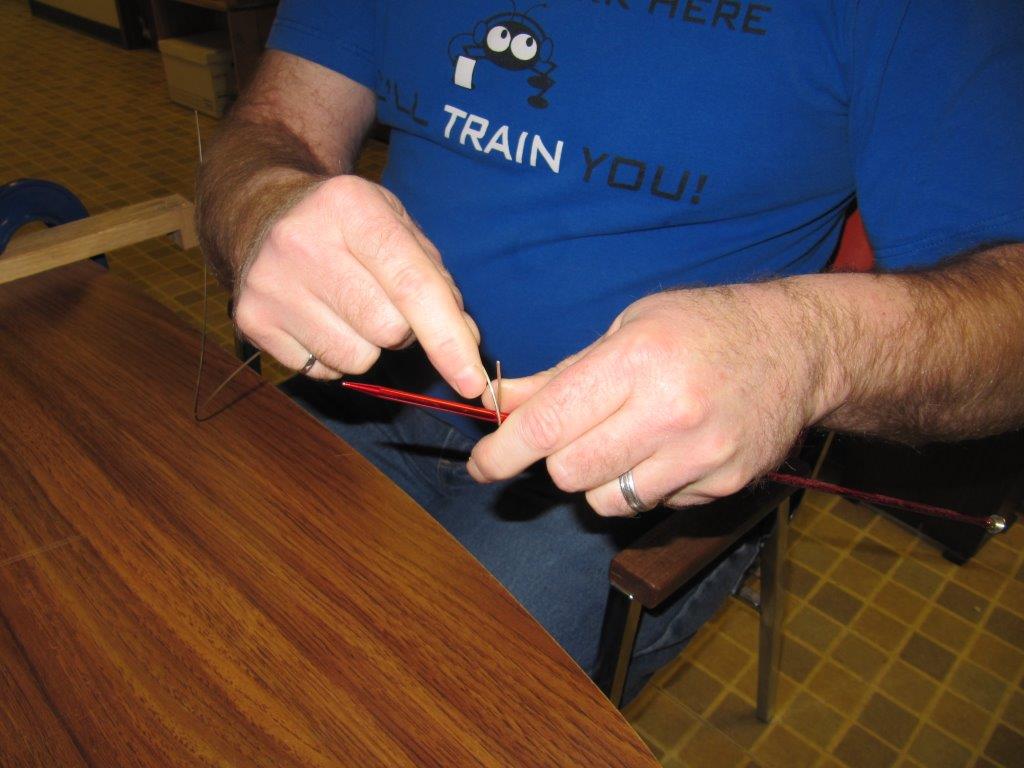
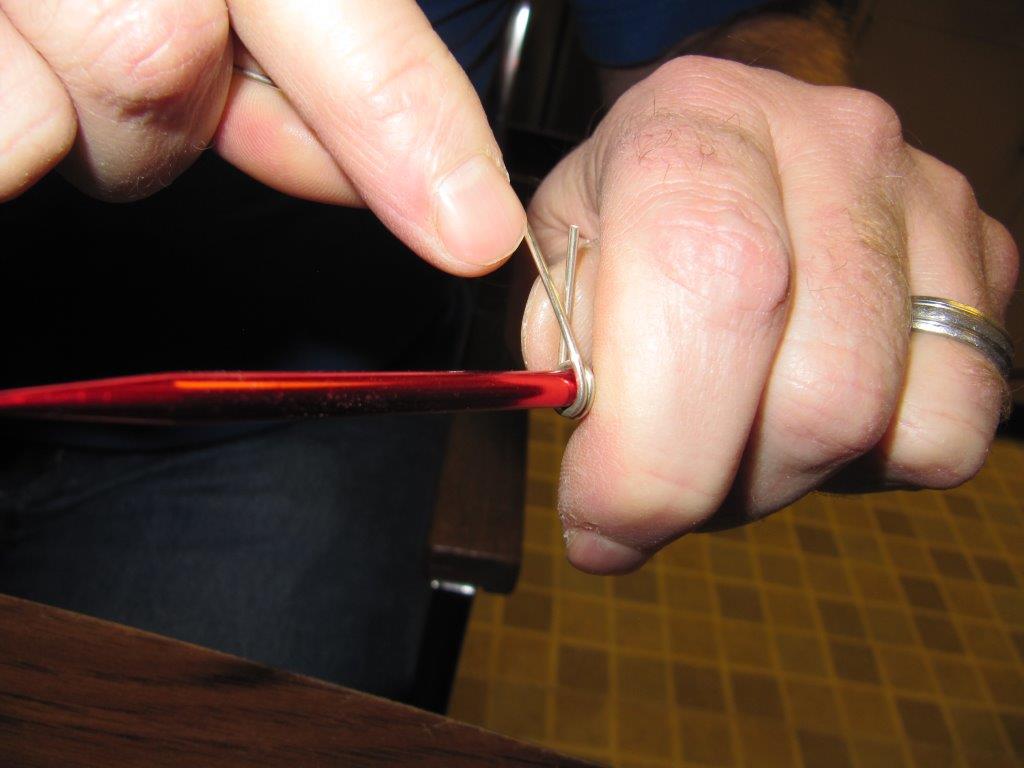
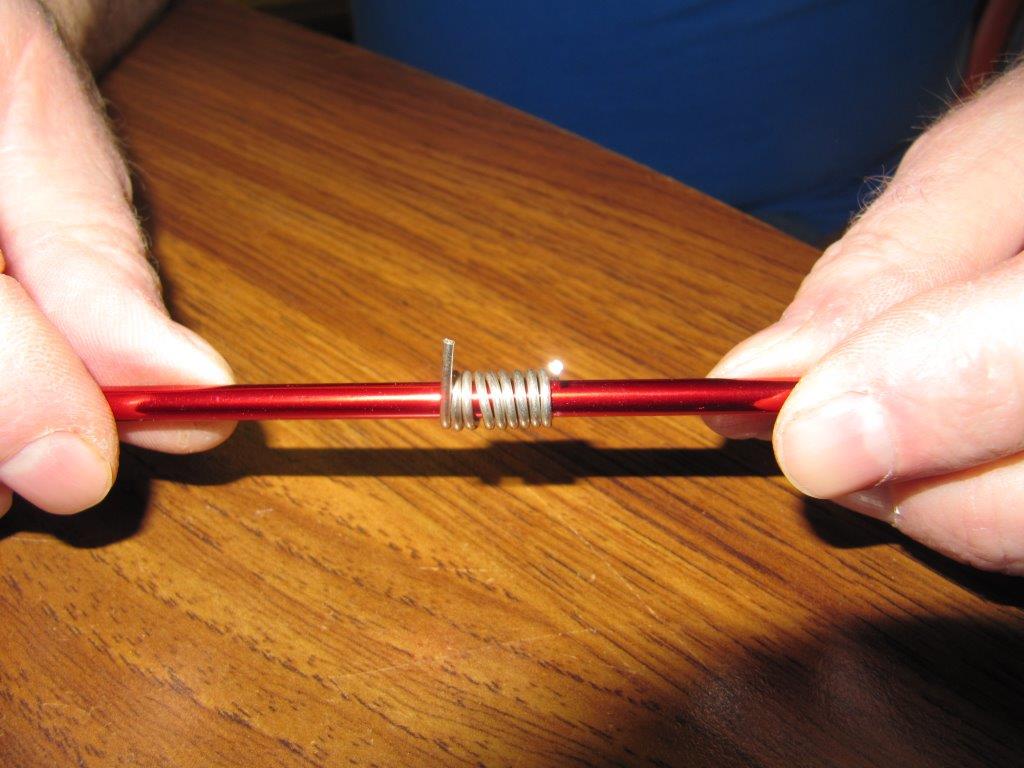
Using 16 gauge silver wire and a 4.5mm Aluminum knitting needle carefully wrap the silver wire around the knitting needle as in the following pictures. Be careful not to overlap or have too much of a gap between the coils as the jump rings will not be the same size after you cut them.
Using 16 gauge silver wire and a 4.5mm Aluminum knitting needle carefully wrap the silver wire around the knitting needle as in the following pictures. Be careful not to overlap or have too much of a gap between the coils as the jump rings will not be the same size after you cut them.

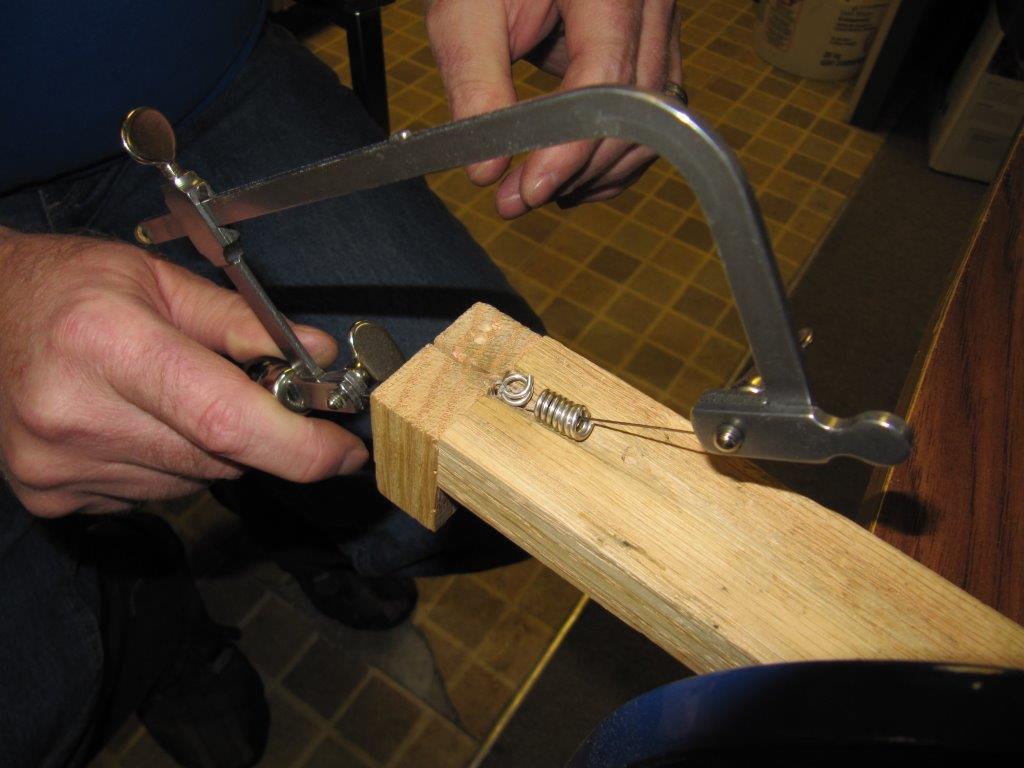
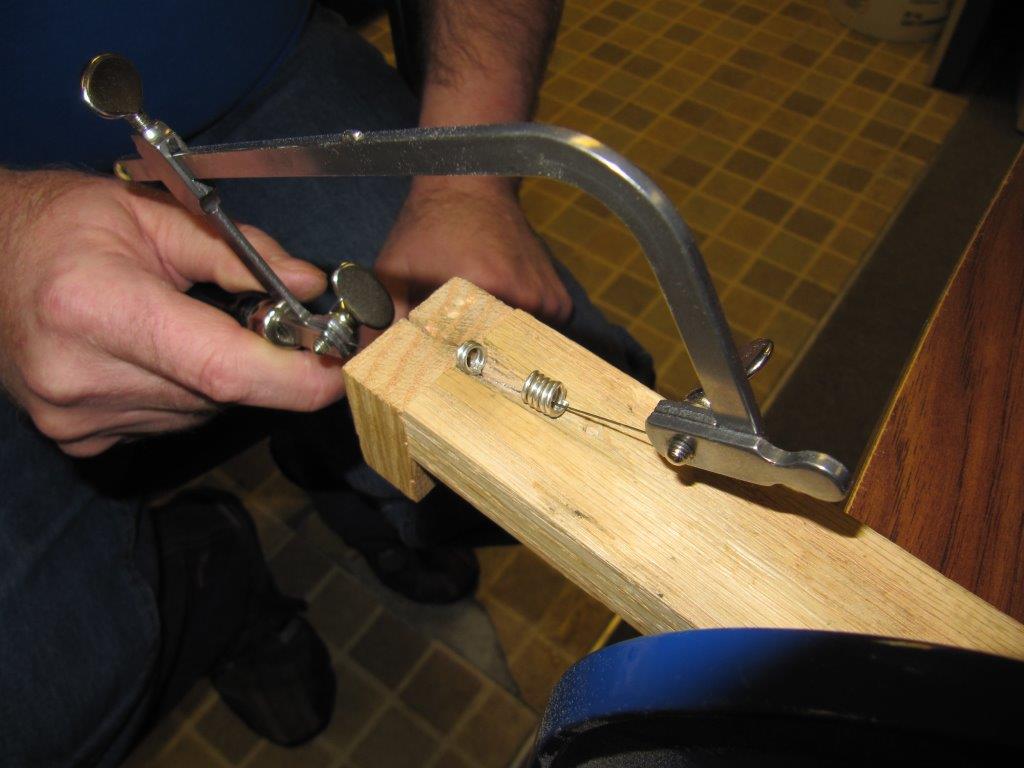
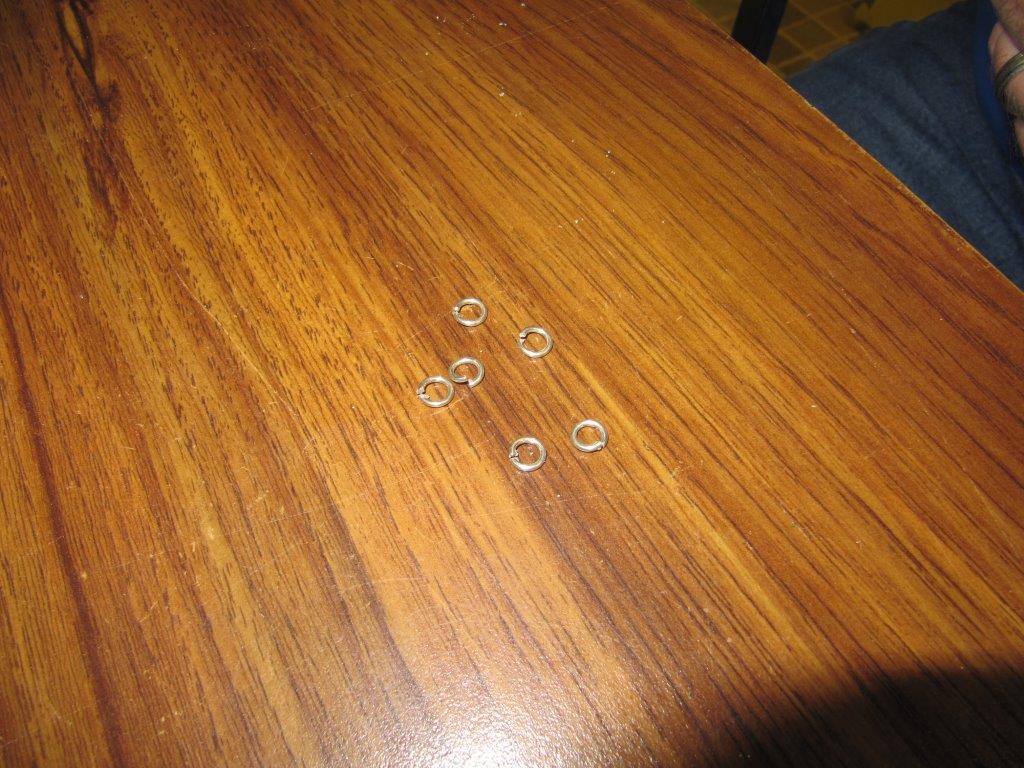
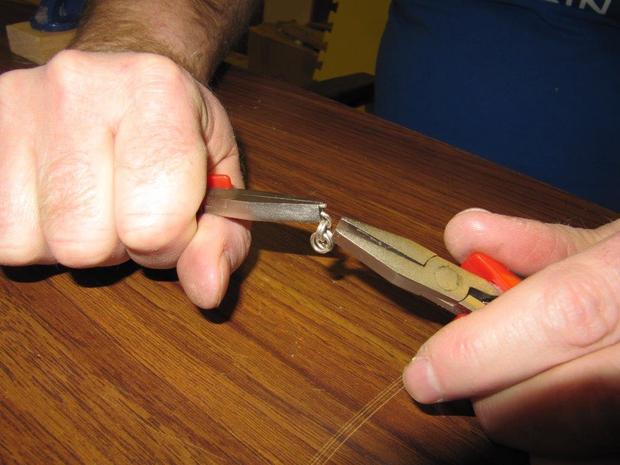
Cut the coil of wire into jump rings with a jewelers saw using a bench pin. Use the flush cutters to remove the tag ends leaving the coil of silver wire. Insert the jewelers saw blade into the middle of the coil of silver and tighten the saw blade in the Saw Frame. Apply some bee's wax to the saw teeth for lubrication. You will be cutting the jump rings from the inside out.
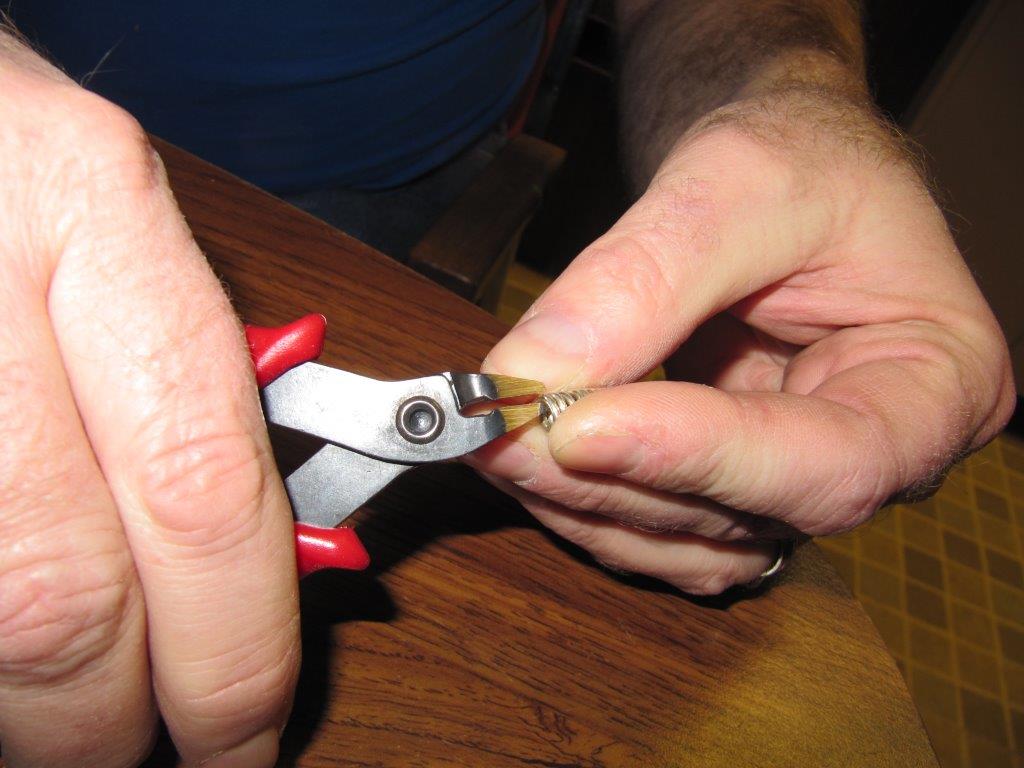
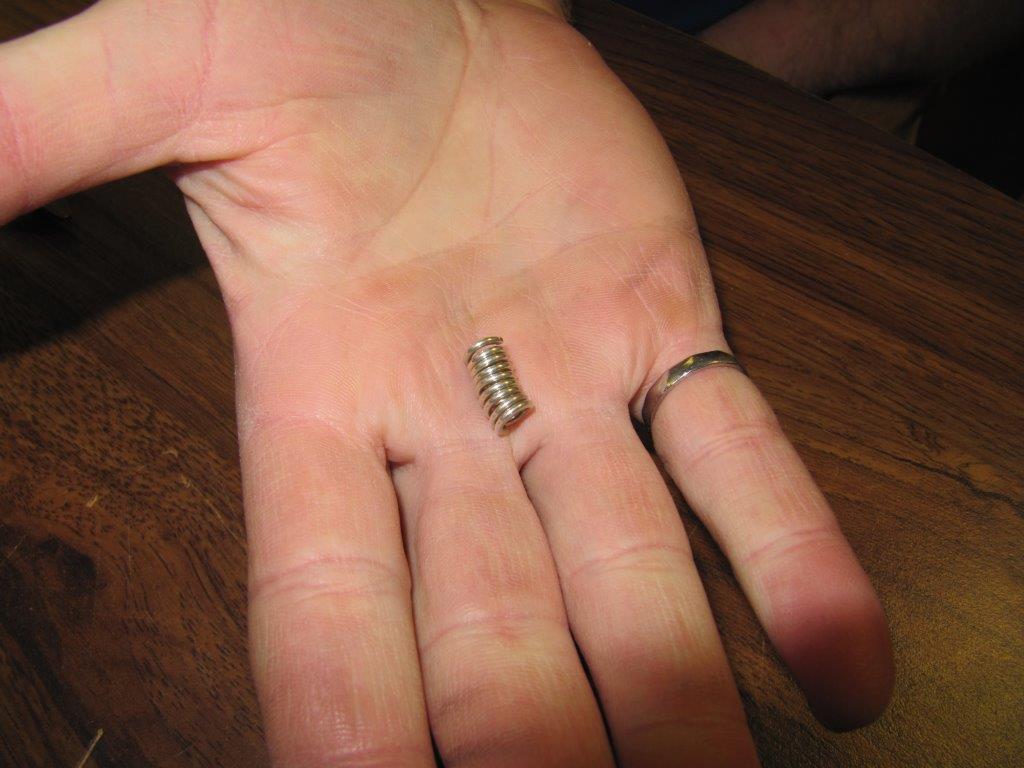


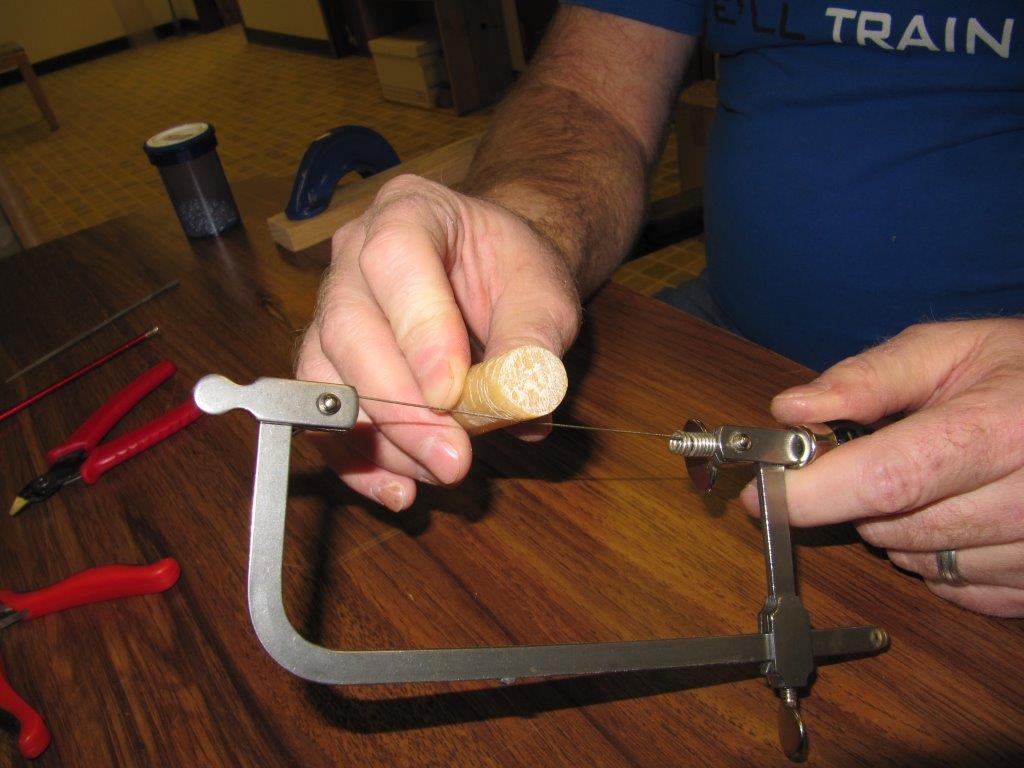
Now using the jewelers saw and bench pin, carefully cut through the wire coil to make individual jump rings. The Bench pin has a groove on the top surface and the end piece closes off the end of the groove, holding the coil from moving toward you while cutting.
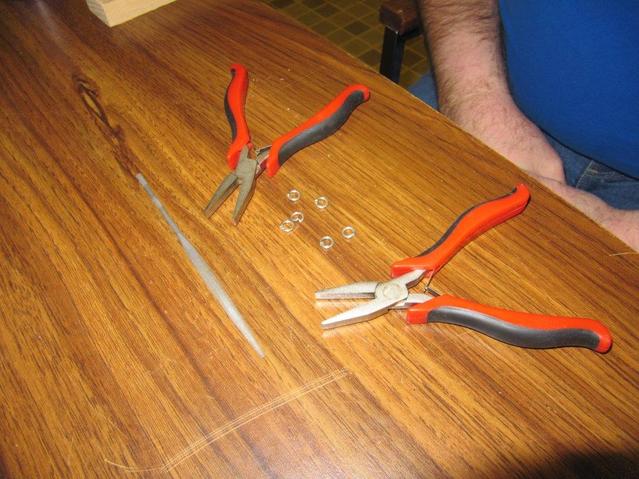
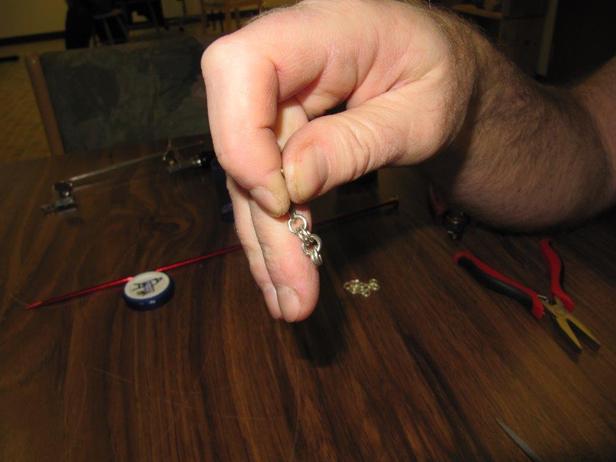
Tools and Jump Rings required to get started on the Chainmaille. The pliers have smooth jaws so you don't damage the jump rings and the file is for getting rid of the edges and sharp bits.
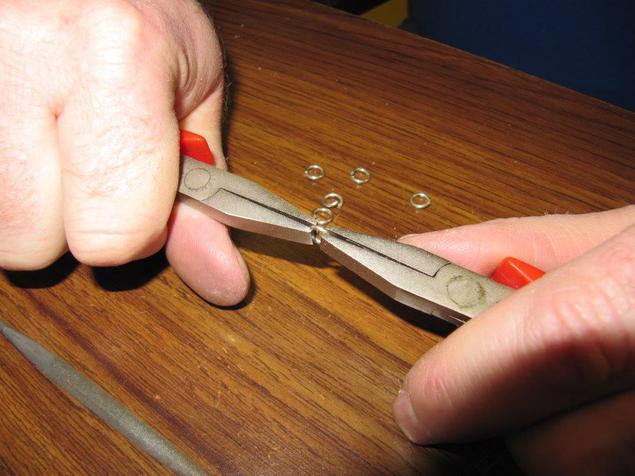
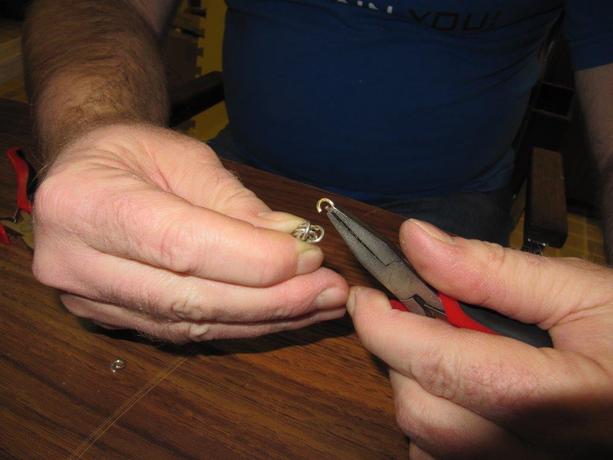
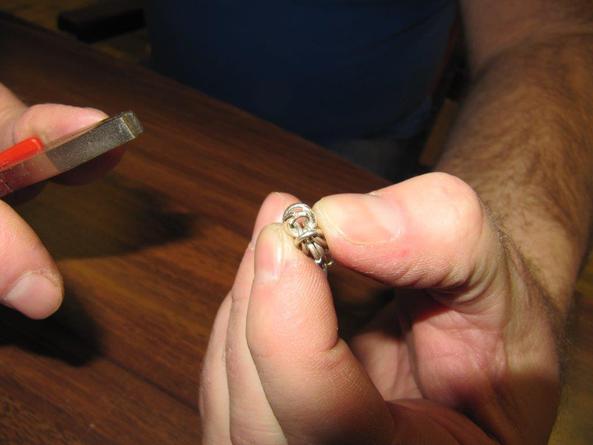
Close the jump ring with 2 pliers by moving back and forth and pushing the ring together to close gap. The ring will almost snap when the final movement closes the gap.
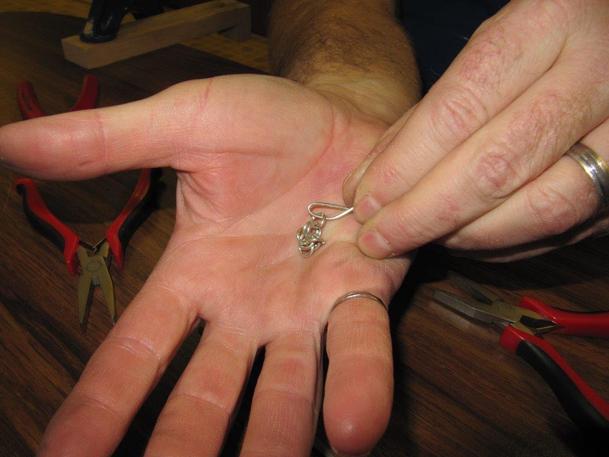
Close another jump ring, then add 2 closed rings into a third jump ring.
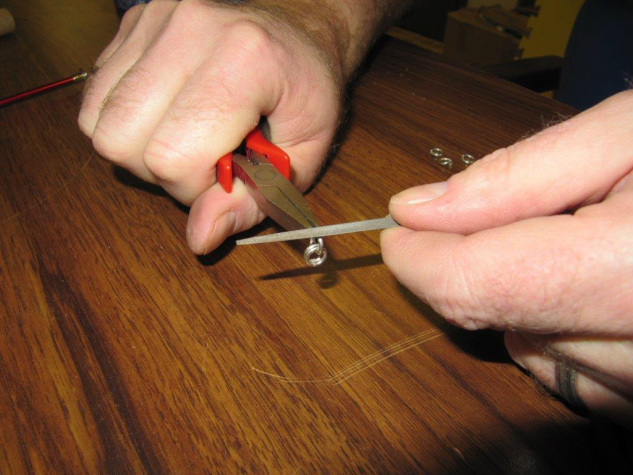
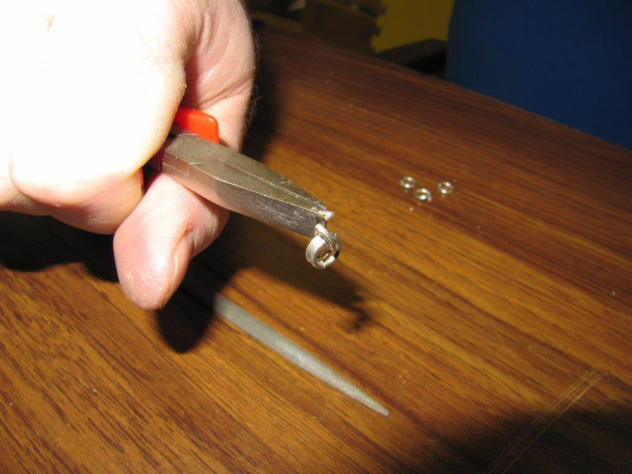
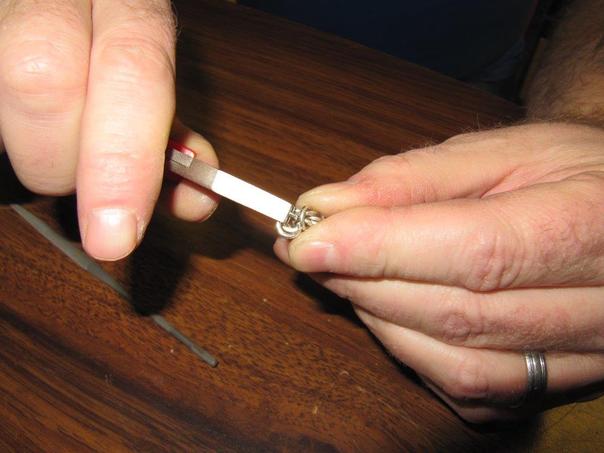
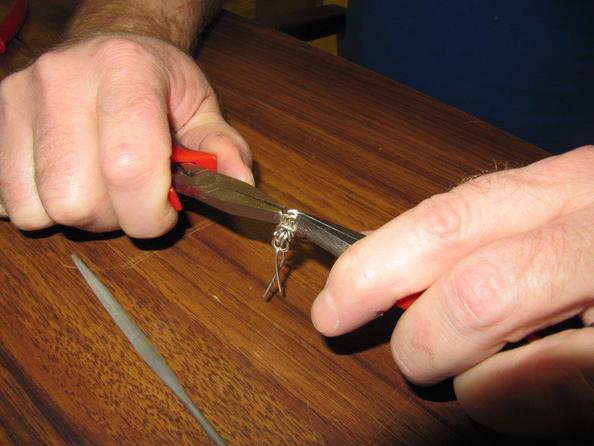
Close the jump ring and use the file to remove any uneven edges
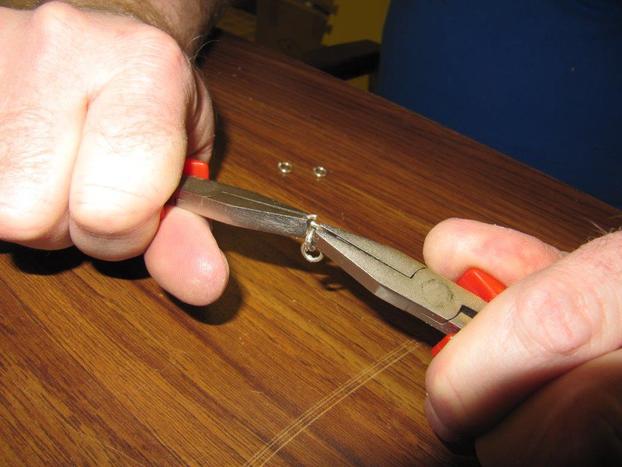
Add a fourth jump ring and close it beside the third jump ring.
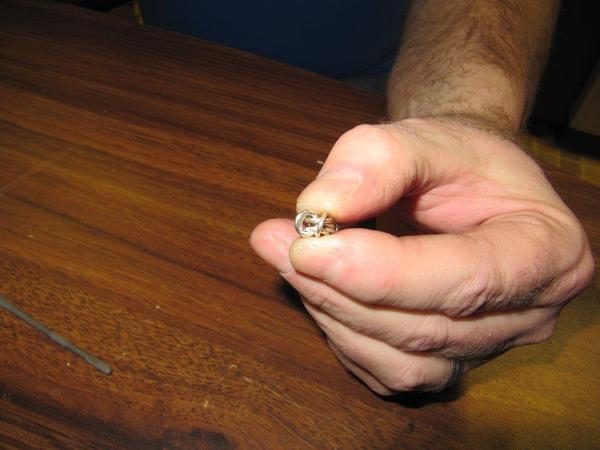
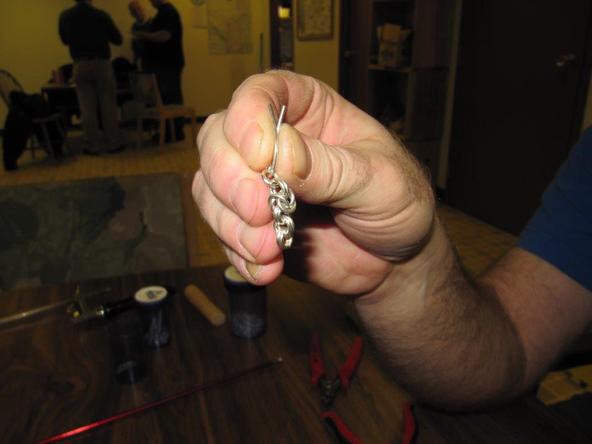
Add a fifth and sixth jump ring though the third and fourth jump rings.
You now have six jump rings set up in three sets of two. If you want to build a double link chain then carry on adding jump rings in sets of two for as long as you want to make your chain.
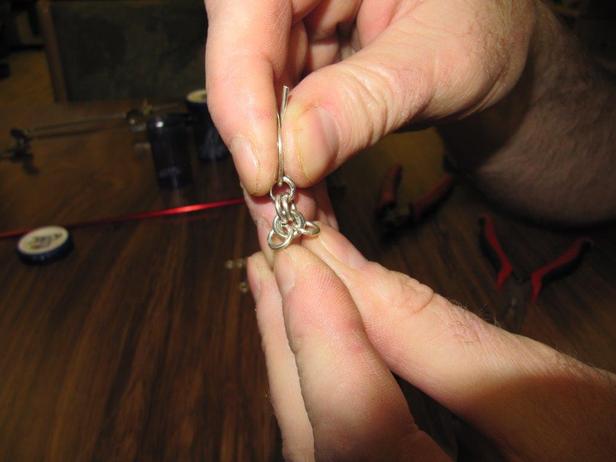
To make a Byzantine link, you will be manipulating the rings to create the chain link
Start with six links connected two to two to two.
Take the fifth and sixth link and fold them back over the third and fourth link.
The fifth and sixth link are now laying back by the first and second link.

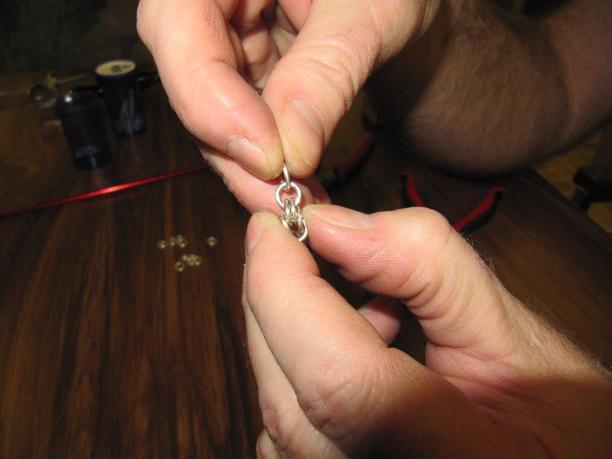
Now spread the third and fourth link so you can see the back ends of the folded fifth and sixth link.
Open a jump ring and insert it though the back of the fifth and sixth link in between the spread third and fourth link.
Close the inserted jump ring and that will hold the folded fifth and sixth ring plus the spread third and fourth link in position.
Open up the area and insert an second link in beside the last link you inserted.
It may be a tight squeeze to get the second link into the space!
Made it!!
Close the link, file any rough edges and check that the first though sixth jump rings and the two you just inserted have closed gaps and good alignment. Now is the time to fix anything that looks out of place.
The two links you just inserted are the first and second link of the the next unit of chain, so add the third and fourth, fifth and sixth jump rings in pairs so you again have a two to two to two chain.
Now fold the fifth and six rings back...
Now fold the fifth and six rings back...